Monday, October 1, 2012

Project 31 - Pumpkin Coffee Cake

I highly recommend you make this coffee cake this fall!  It is by far my favorite fall recipe!  I have made it twice (once for a MOPS meeting and once for home) both times it has been eaten up quickly!

For the flavor this cake has, it is really easy to make.  The recipe can be found on the blog, Pretty. Good. Food.  For my gluten-free friends, if you go down through the comments on the recipe, it has ideas for making it gluten-free!

A couple notes:
*I used store brand cake mix, but there is a catch.  I find that it tends to have some lumps in it, so I pour the mix into the bowl and break op the lumps with my pastry mixer, but a whisk or even fork will do the trick as well.  That way you don't have lumps of dry batter in your cake.
*I prefer to make this cake the day before to make sure that the glaze has a night to really soak into the cake. 

I only took a picture of my cake before the glaze:

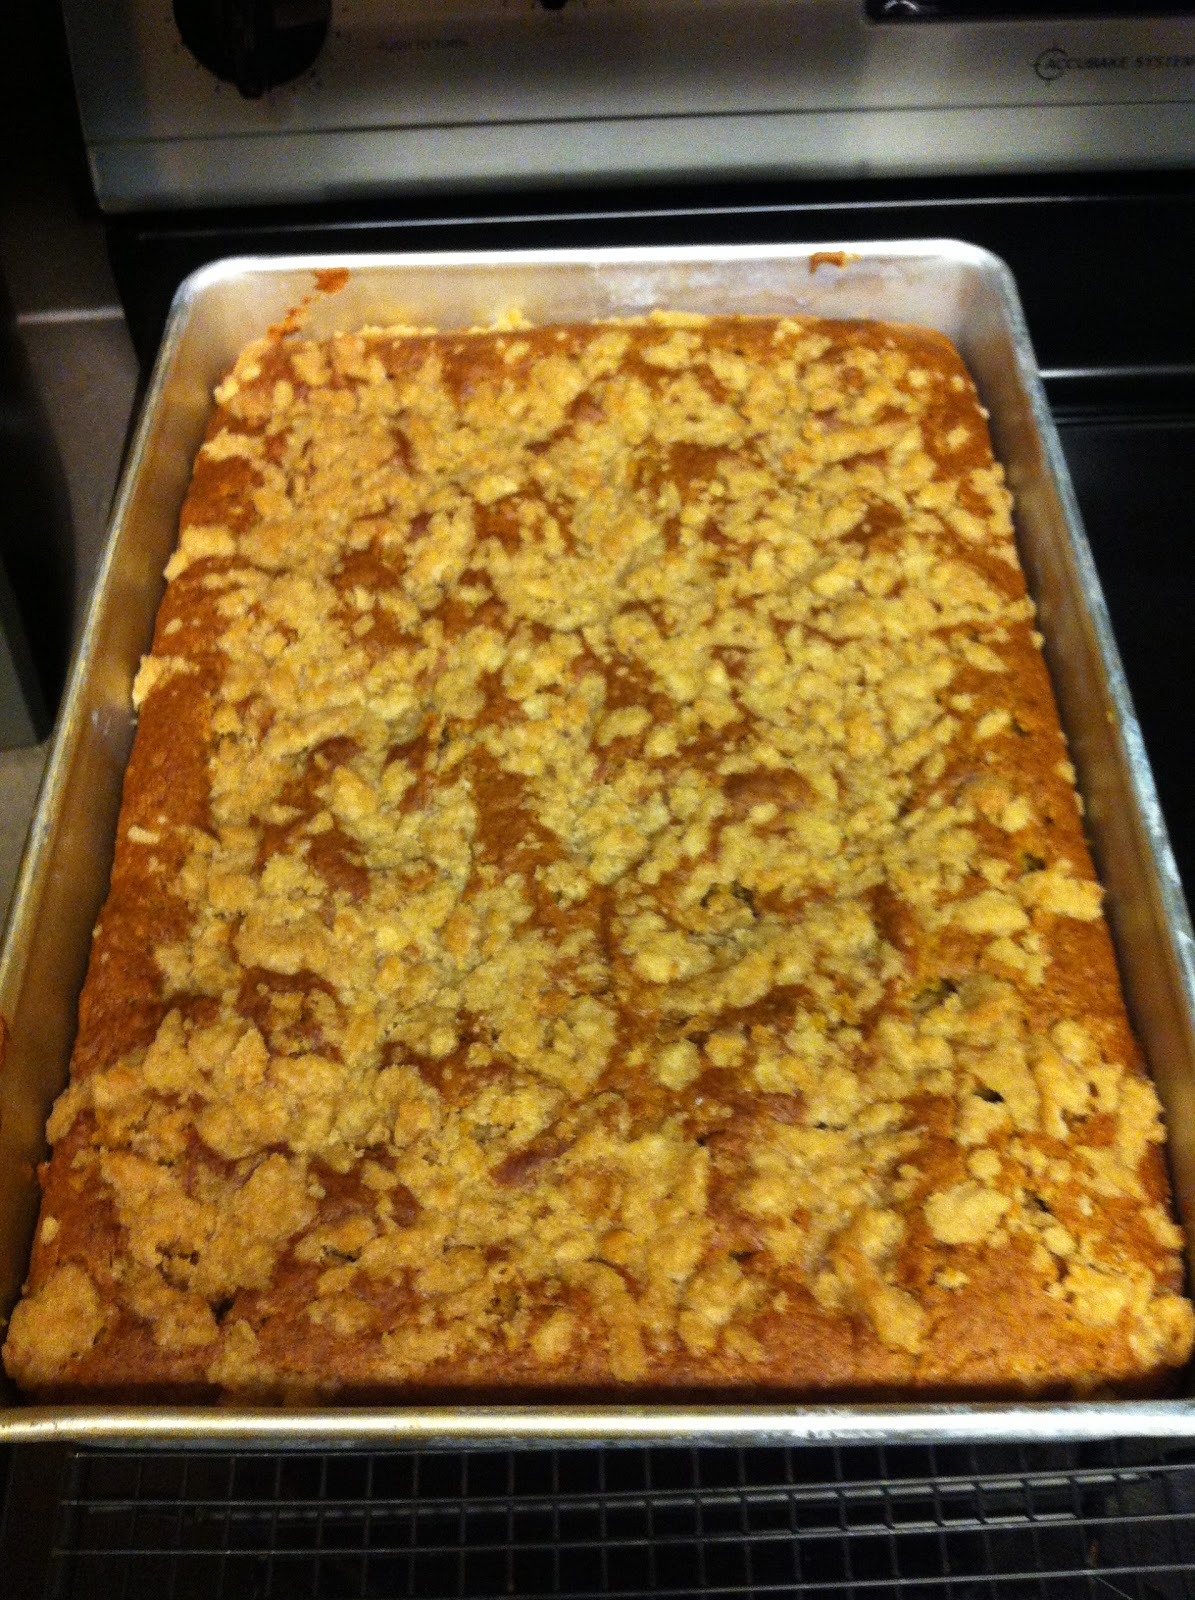
I promise though when I poured the glaze on it actually looked close to the picture on the pin! :)

2


Happy eating!!

Project 30 - Nutella croissants - YUM!!

I found inspiration for this one based off some of the Nutella recipes I have seen on pinterest as well as the cinnamon butter croissants.  I thought why not combine parts of the two ideas, and I came up with a very yummy breakfast/snack. 

Let me just preface this with I use a lot of store brand products, especially when I am doing a recipe that combines ingredients to work together, instead of something having to stand on it's own.  I figure that I will not be able to tell a difference when it is mixed with something else.  It saves money too! :) So for the croissants, I took just store brand crescent rolls and rolled them out into the small triangles.  I spread some store brand nutella on top of those, and some I rolled up and others I added some pecan pieces before rolling.  I brushed some egg white on top of all the rolls and baked them according to the package directions.  Results - a delicious breakfast treat that was heartily enjoyed by my children and myself. :)


I was able to keep the extras in the fridge and reheated in the microwave the next day, and they were just as good! :)  Quick and easy for a fun breakfast!

Project 29: Travel toy storage

I found this just in time for our trip down to Frederickburg to see family this summer.  It's about a 5 and a half hour drive, so having things for the kids to do is a must, along with snacks.  The kids are both in boosters now, so they have a little more freedom to move around and get things on their own.  I decided to make some fun hanging fabric pockets for the kids to be able to store their toys and snacks in without having to grab it from a bag on the floor (not good for kiddos who are prone to car sickness) or me having to turn around and hand them stuff from the front (also not good for a mama who can also be prone to car sickness).  I found these super cute fabric car organizers on blog, Just Sew Sassy.

Pinned Image
 
(image from pin on pinterest)
 
I had just enough fabric left over from my son's pillow mattress to make him one, and enough in my fabric stash for a girly one for my daughter too. :)  Gotta love projects that you have to buy nothing for!!
 
I followed the directions pretty much as written, but instead of using fusing or interface, I just stuffed a piece of cardboard that I cut from some extra boxes in the garage to give the back some strength  (hindsight, probably wouldn't do it again b/c now I can't wash them). 
 
This project was one of my more challenging ones as I have said before, I am definitely not a seamstress, and I have never had any kind of formal (or informal) training on how to sew with a sewing machine.  It took a little more time, and I had to really pay attention to be sure i wasn't sewing any of my pockets closed! :)  Here are some pics from my assembly process:
 
Got all my squares cut out!
 
 
Ironing the small square in half then ironing a seam.
 
Sewed in the seams then pinned the pockets together.


Sewed all the pockets together and added the ribbon strap and edge to the top.


All finished!  The kids loved using them, and I love that when the trip is done I can hang them on the back of the playroom closet, so it's easy storage. 


Saturday, September 8, 2012

Project 27 & 28: Bubble painting and elephant toothpaste

I caught a lucky break on my next two projects b/c they were a part of a summer cooking camp that I volunteered to help with at my church. :)  We had a science portion of the camp in which the kids were able to experiment with food related items.  It was a blast!!  Luckily I was in the same traveling group as my son, so I was able to get some pics of him doing the painting.  Instead of blowing the bubbles outside of the bowl like one of my original pins suggested, my son chose to blow the bubbles inside the bowl, then lay the paper on top.


The kids did this with a couple different colors resulting in some really cool paintings!!


Next was the elephant toothpaste.  It was a huge hit!  It even caught me off guard how quickly it would explode.   The directions for this experiment can be found at Preschool Powol Packets. 

 
Both easy, but slightly messy, fun activities to do with the kiddos!!

Tuesday, July 17, 2012

Project 26 - I really wanted to like this one. :(

I had some early mornings this summer with camps and other activities, so I have tried to find some healthy breakfast choices that are easy to make.  I saw this pin for the overnight slow cooker oatmeal, and I thought I would give it a try.  The recipe can be found at the blog, The Yummy Life.

I love oatmeal.  In the winter, I will make the rolled oats with some butter, brown sugar and walnuts.  One of my favorite things to enjoy with a cup of coffee when it's chilly outside. :)  I thought this recipe would be perfect!  I had a garage sale to get up early for the next morning, so I got everything set up and ready to go. 

I woke up in the morning to a wonderful aroma of cinnamon and apples.  Smelled sooo good!  My mouth was almost watering as I scooped out some of the oatmeal into my bowl.


Looks good, huh?  I guess I should preface this with the fact that I have never had steel cut oats before.  Not that I am a texture aversive type of person.  I love the chewy texture of the regular rolled oats, so I am not sure if that was what did me in.  Anyways, I took a bite of my oatmeal, and for some reason, my body just rejected it.  Something about the taste and the texture at the same time caused a gag reflex that caused me to spit it out immediately!  I thought I would try again thinking that maybe since I was prepared for the flavor, and maybe I just didn't get a sweeter part of the oatmeal it didn't mesh the flavors right.  I stirred it up, took another bite, and same reaction.  I thought better to not try again if I wanted to be able to eat anything else that morning. 

Bummer!!!  Like I said, I really wanted to like this one.  It looked good, it smelled good, and it was super healthy!  Not meant to be I guess.  Guess it's back to my rolled oats.

Project 25 - Ice Cream in a Baggie

Who doesn't like ice cream?!?  I am especially fond of this summer treat.  So fond in fact that is contributed in me gaining over 50 lbs. when I was pregnant with my son.  Gotta love those summer pregnancies! :)  I have such great memories of making ice cream in a baggie in the many years that I worked summer camp at the YMCA as a young adult, so it was great to relive that with my own kiddos!

I found the recipe on the pin that led me to the blog, 2 Little Hooligans.  Super cute blog with lots of other fun stuff to check out. :)  We followed the very simple directions to make our ice cream.  The kids had a blast measuring, pouring, and shaking up our ice cream.  We added a little bit of strawberry syrup to make it flavored.  It took awhile to shake, but the end result was very worth it!  Homemade strawberry ice cream that the kids were very proud of and equally excited to eat.


We added some fresh strawberries and whipped cream to complete our yummy treat!

Project 24 - Sandpaper Crayon shirts

Hello!  It's been awhile since I have been able to post, but I have kept to my resolution of continuing to try new projects!  I have also decided that instead of titling my posts by project # instead of by the week.  I was getting a little confused at the week #, and as long as I hit 52 projects I have met my goal! :)

I was inspired to do this project with my kiddos that I found on, of course, Pinterest!


The pin lead me to the blog, AlphaMom. The directions were very easy to understand and follow.  I had the kids color the scene that they wanted on the sandpaper.  I did remind them to push hard with the crayons, and that the image they were drawing would be reversed in case they wanted to write something on it. 

They set to work very excited about the scenes they were going to draw for their shirts.  Aiden of course was drawing a scene from outer space, since he wants to be a scientist astronaut (his words) when he grows up.  Baylie, not to be outdone, also did an outer space scene, but in true Baylie-style, she was a princess astronaut. 

When they finished I ironed on the decorations per the websites directions.  They came out great!


They were very proud to wear the shirts that they had designed!  I have washed them a couple times (cold water, inside out), and they still look great.


This project is mom and kid approved!  Works with little or big ones, as long as they can mark a color or a page. :)